Struggling to make an image stay fixed on the side of your screen in Wix Studio? You want it to always be there, even when visitors scroll. This is a common request for creating modern, dynamic websites.
This guide will show you exactly how to stick an image to the left or right screen edge. We will also make sure it works perfectly in responsive mode for mobile and tablet views. The process is simple and does not require any custom code.
Let’s get started.
What does “stick to screen edge” mean?
When you stick an element to the screen edge, it means it becomes fixed in that position on the browser window. Instead of scrolling away with the rest of the page, the image stays visible in the same spot. This is great for decorative elements, promotional banners, or contact buttons that you always want users to see.
How to make an image stick to the side in Wix Studio
This method uses the built-in Wix Studio tools. You do not need to switch to Dev Mode or write any code.
Step 1: Add your image to the page
First, drag an image element from the left-hand menu onto your page. Upload or select the image you want to use.
Step 2: Position the image manually
Click and drag your image to the left or right edge of the screen. Position it exactly where you want it to be permanently located.
Step 3: Open the settings panel
With the image selected, click on the Settings icon (it looks like a gear) in the floating toolbar. This opens a panel with more advanced options.
Step 4: Enable the fixed position setting
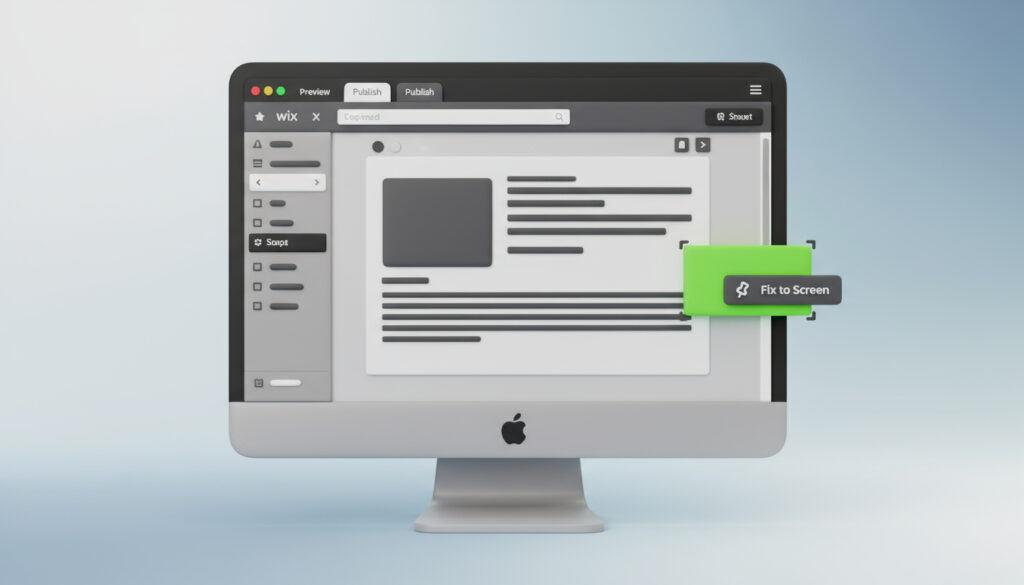
Inside the settings panel, find the section called Position. In this section, you will see a toggle switch for Fix to Screen. Turn this switch on.
Step 5: Set the fixed position
After you turn on Fix to Screen, new options will appear. Here, you can define how it fixes to the screen.
- Under Horizontal, choose Left or Right from the dropdown menu. This tells the image which edge to stick to.
- You can then use the offset field to add space (in pixels) between the image and the very edge of the screen if you want.
Your image is now stuck to the screen edge. Preview your site and scroll down to see it remain in place.
How to make a sticky image work on mobile and tablet
Making your layout responsive is crucial. A fixed element on desktop can sometimes cause issues on smaller screens. Here is how to check and adjust it.
Step 1: Switch to mobile view
At the top of the editor, click on the desktop icon. Then select the Mobile view from the dropdown menu.
Step 2: Reposition the image if needed
Your fixed image will likely still be on the side, which might be off-screen on mobile. In mobile view, simply click and drag the image to a new position. A good place is often at the bottom of the screen.
Step 3: Adjust the fixed settings for mobile
You can also go back into the Fix to Screen settings while in mobile view. You can change the horizontal position to Center and the vertical position to Bottom. This creates a fixed banner at the bottom of the mobile screen.
Remember to always check both desktop and mobile views to ensure your design looks great on all devices.
Why is my image not sticking to the edge?
If your image is not sticking to the edge correctly, check these common issues:
- Parent Container: The image might be inside a container like a strip or a section that has its own positioning rules. Try taking the image out of any containers and placing it directly on the page background.
- Z-Index: Another element on your page might be covering the image. In the same Settings panel, look for Layers. Increase the layer number to bring your fixed image to the front.
- Preview Mode: Always check your work in the live preview mode. The editor canvas can sometimes behave differently.
Summary

Sticking an image to the screen edge in Wix Studio is a straightforward process. You just need to use the Fix to Screen feature in the element’s settings panel.
The key steps are:
- Place your image on the page.
- Turn on the Fix to Screen setting.
- Choose Left or Right alignment.
- Review and adjust the position in mobile view.


